There is something wonderful about printmaking. Often thought of as the poor relation of painting, it is hard on the hands, messy, brain-tanglingly difficult, (you work in mirror image) and frequently frustrating but to those of us who love it …well there is nothing quite like it.
However difficult it might be to explain why one makes prints, it’s even harder to explain how. In fact, I’m often asked to describe the process of my own intaglio methods of mezzotint and drypoint, only to find a look of mild panic cross my listener’s face as I wave my hands about, produce tools and bits of copper and talk of rockers and scrapers, scrim and swan-skins, pressure and blotters. Truthfully, it has to be grappled with. You have to get your hands dirty and have a go – and I would recommend that to anyone. In the meantime, I thought a photo-blog might go a long way to explain at least the physical printing part of the process itself.
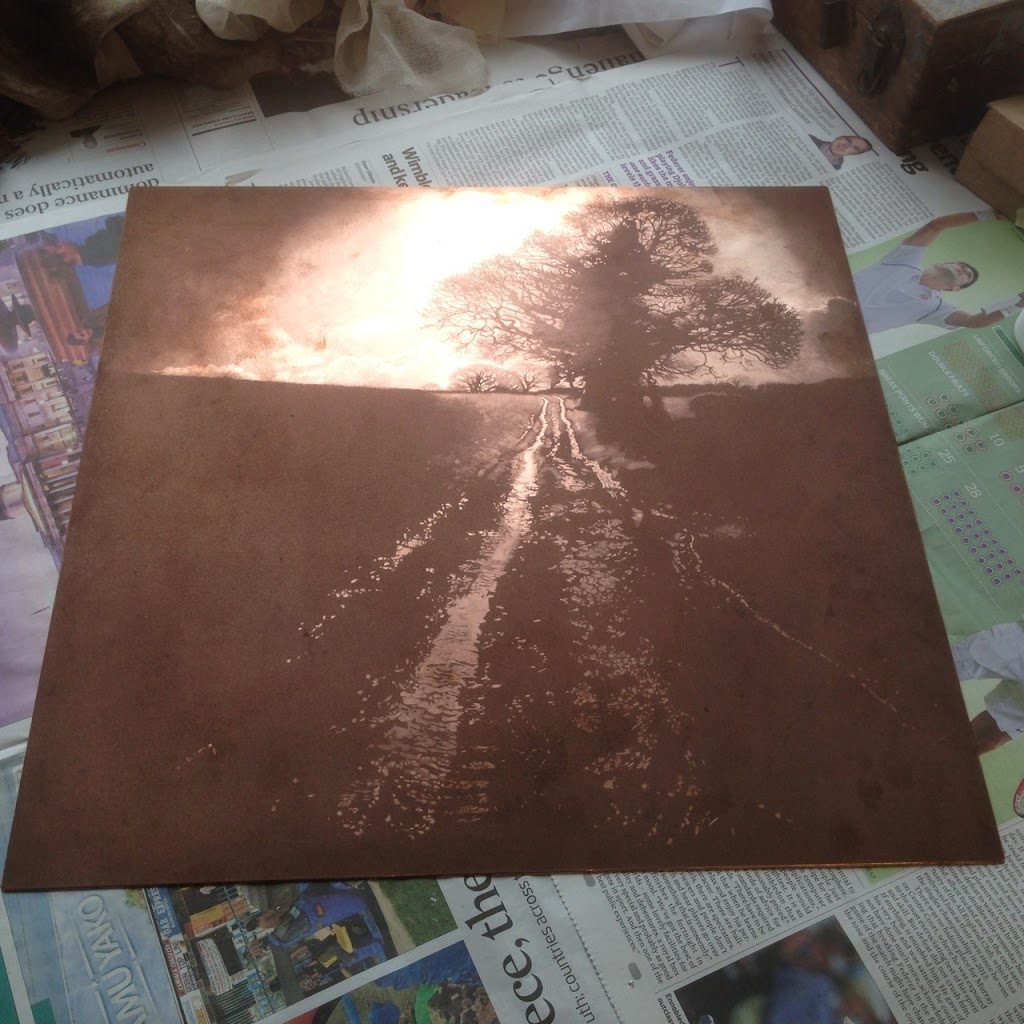
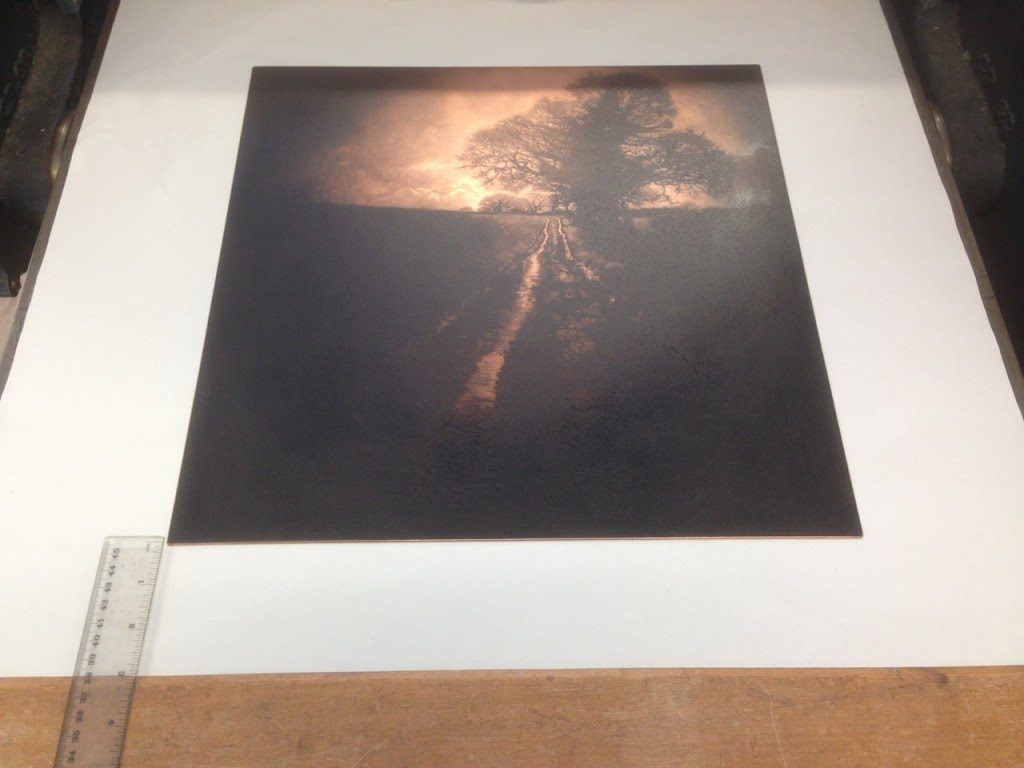
What follows are photographs of me printing a 16″ X 16″ copper mezzotint plate. Some two hundred hours of work have already gone into engraving the plate at this stage. I have already ‘proofed’ the plate several times, establishing colour, pressure, how it is to be wiped and so forth and now it is ready for final editioning. After proofing, a mezzotint plate will make around 40-50 good prints before the plate is worn out and will yield no more.
So this was my day…
The copper plate. Clean and ready for printing.
Setting up.
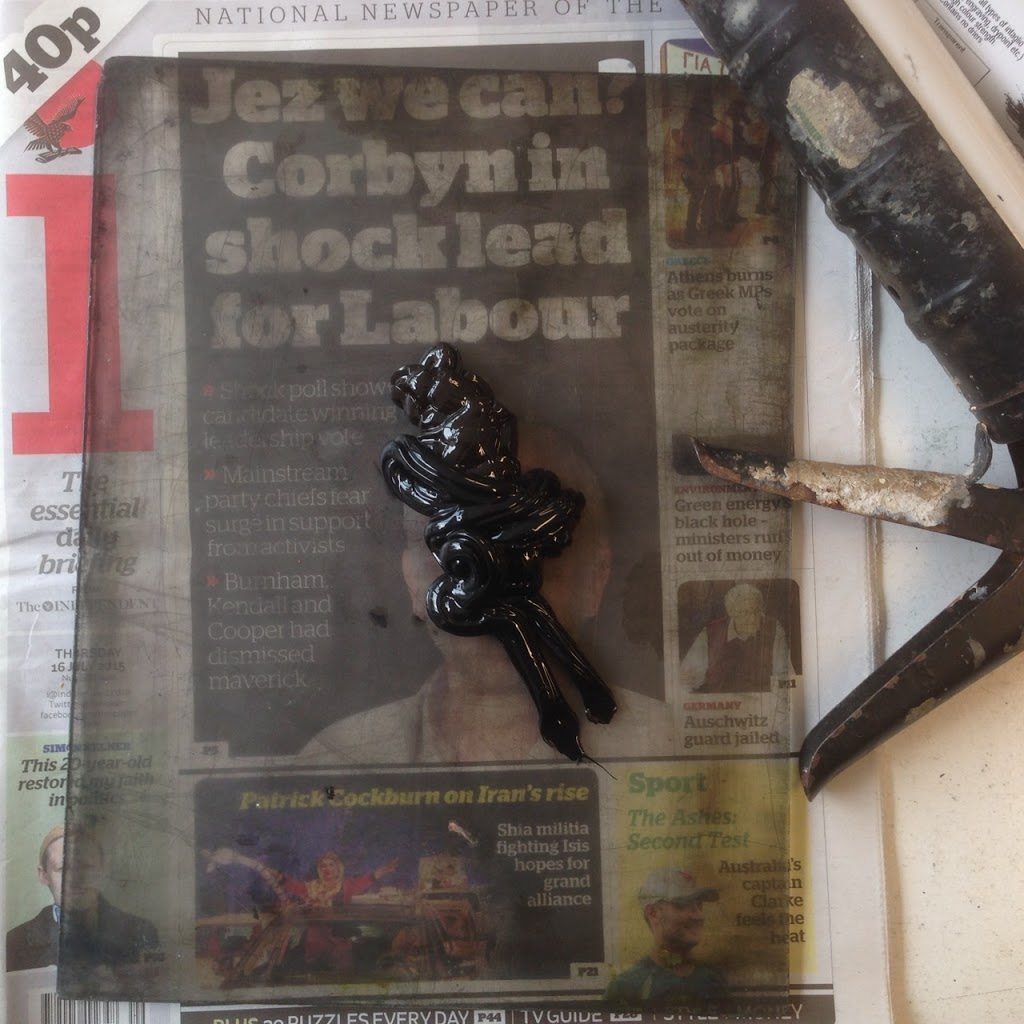
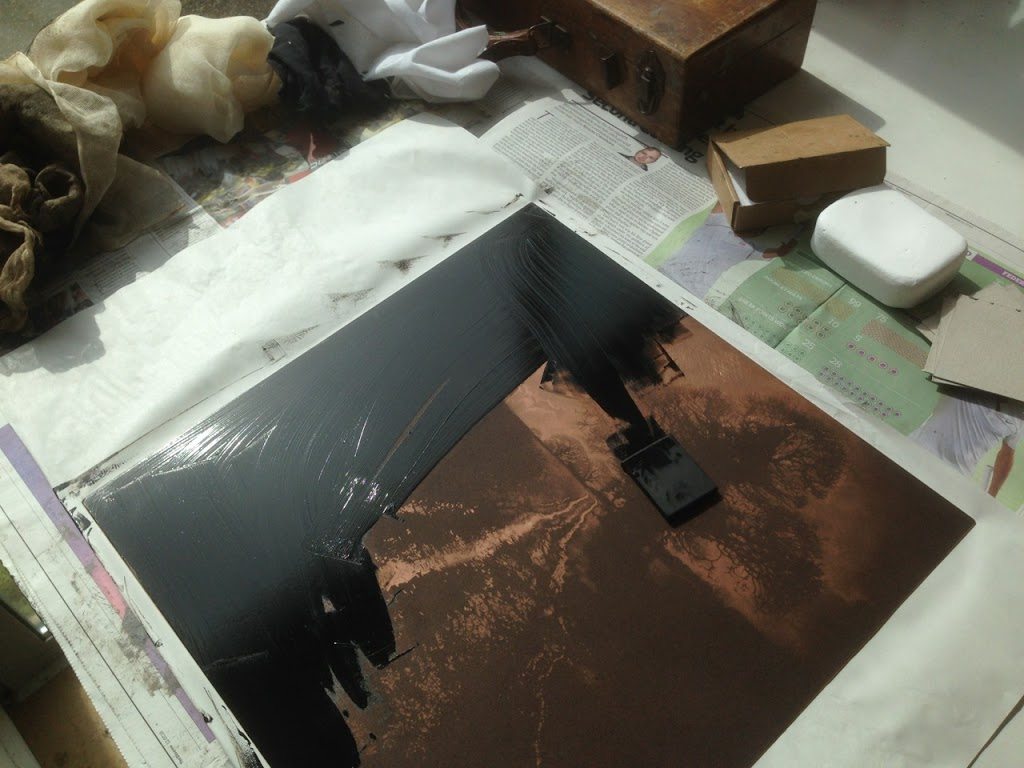
Ink.
(Promise this one wasn’t a set-up, I only spotted what I’d done once I started taking photographs!)
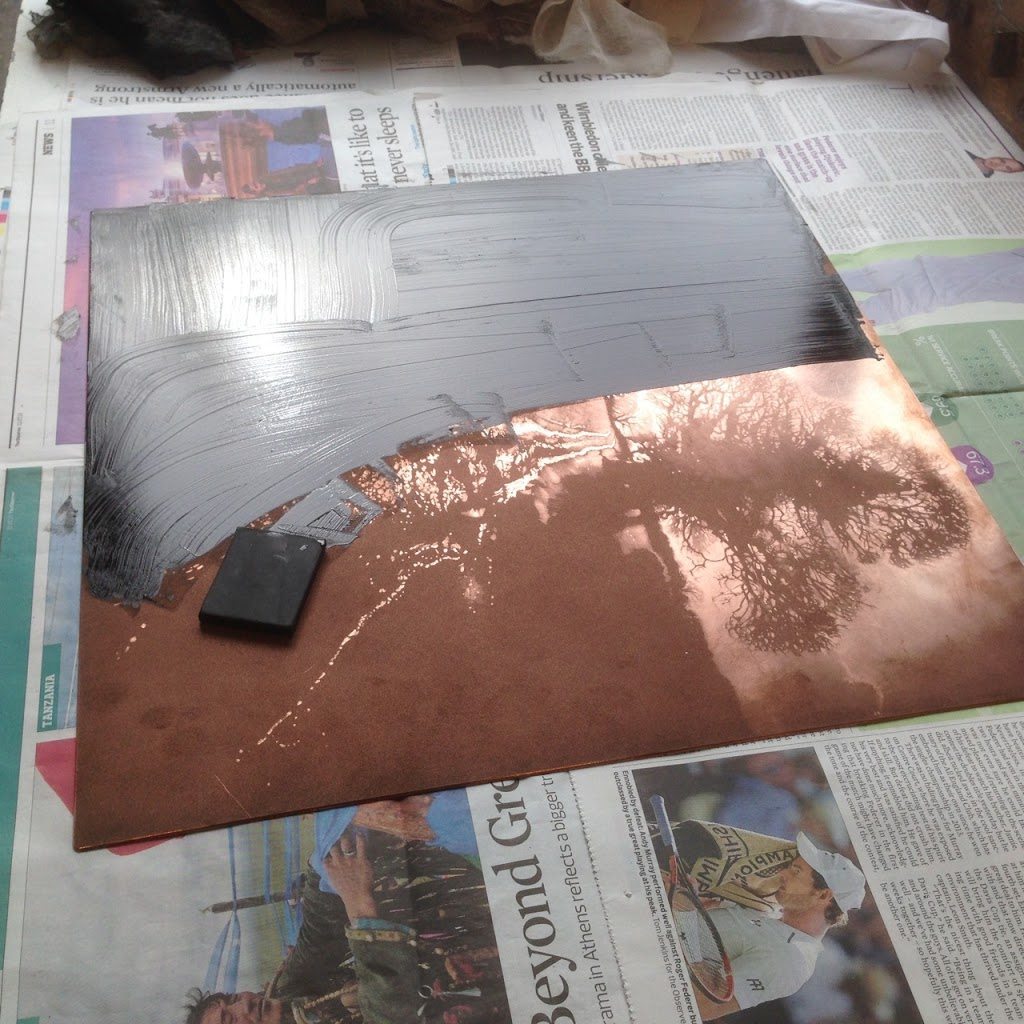
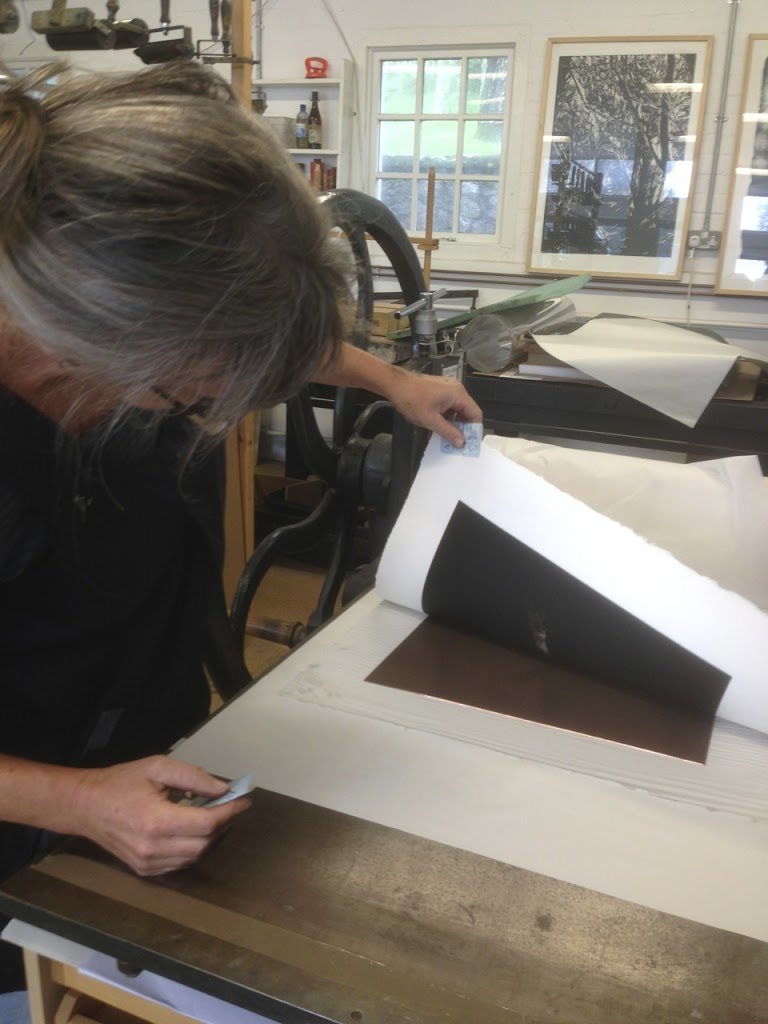
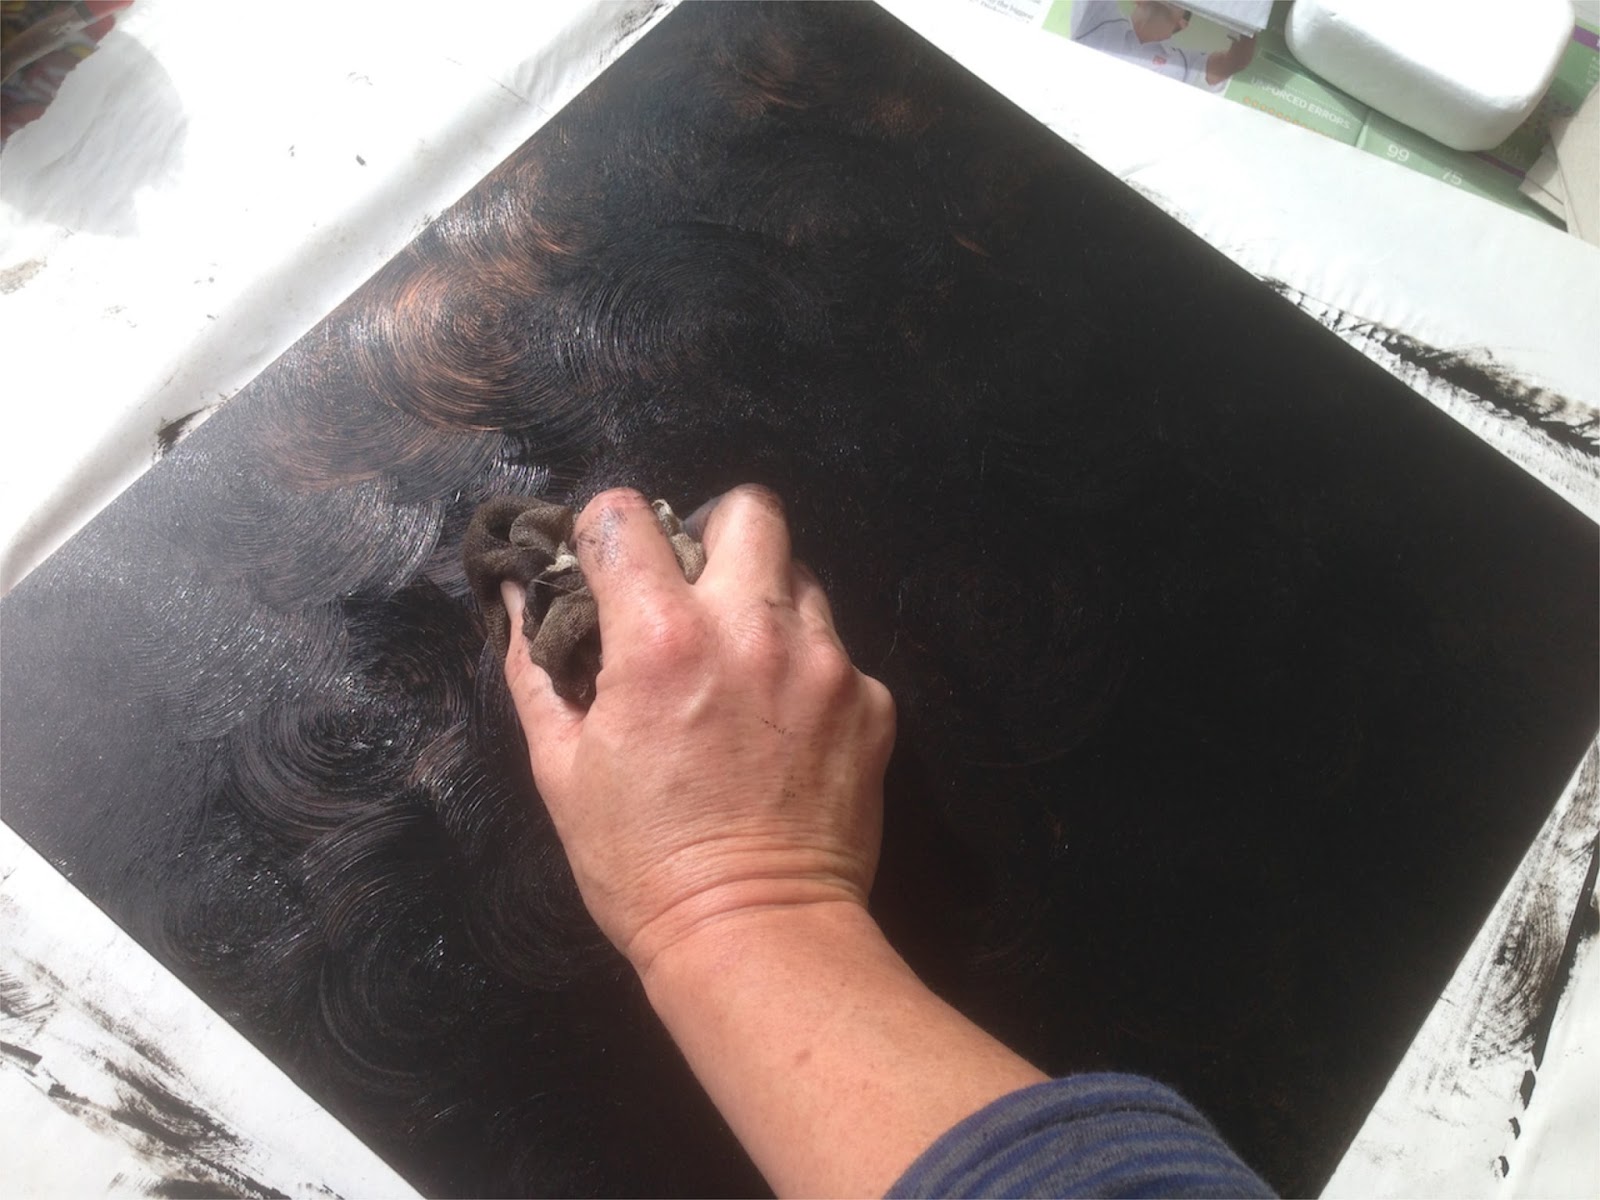
Ink is carefully spread onto the plate…
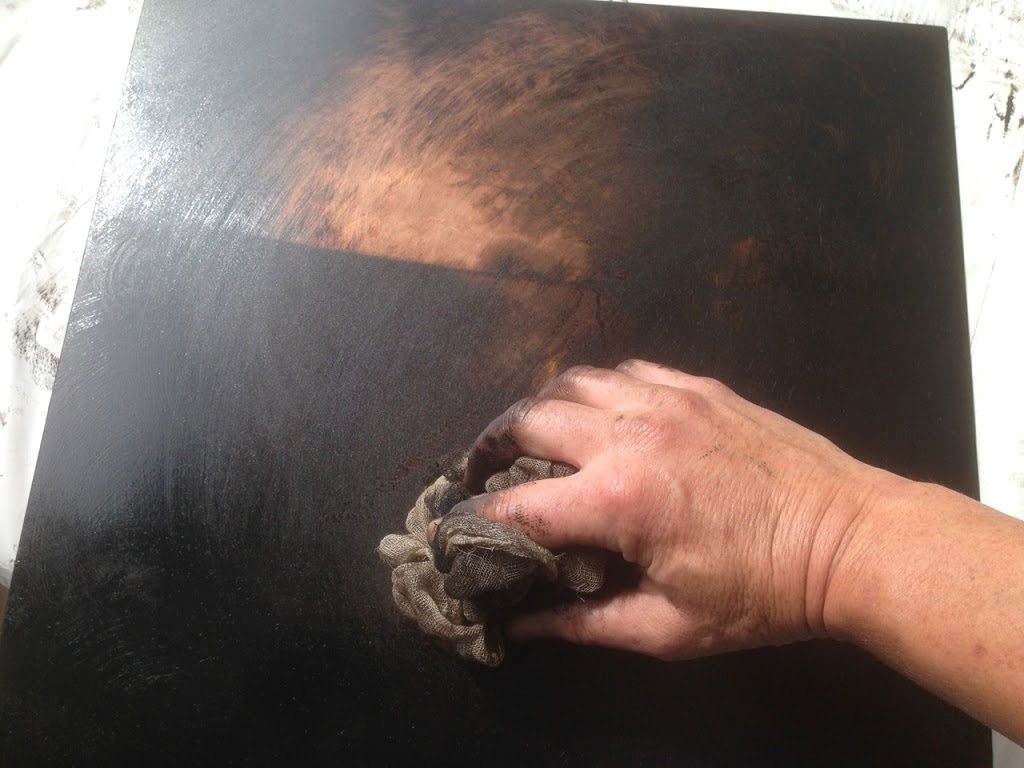
…then gradually wiped off with balls of scrim, using a sweeping circular motion. The idea is to leave ink in the pits and grooves of the plate and remove it from the smoother surfaces. How much ink is left on and how much taken off is an art. I think it took me at least a couple of years to be really in control of this stage.
The edges of the plate are bevelled (another afternoon’s work,) so that they don’t damage either the dampened paper, or the blankets as the plate is passed through the press. These edges are now carefully wiped clean and the plate is ready to print.
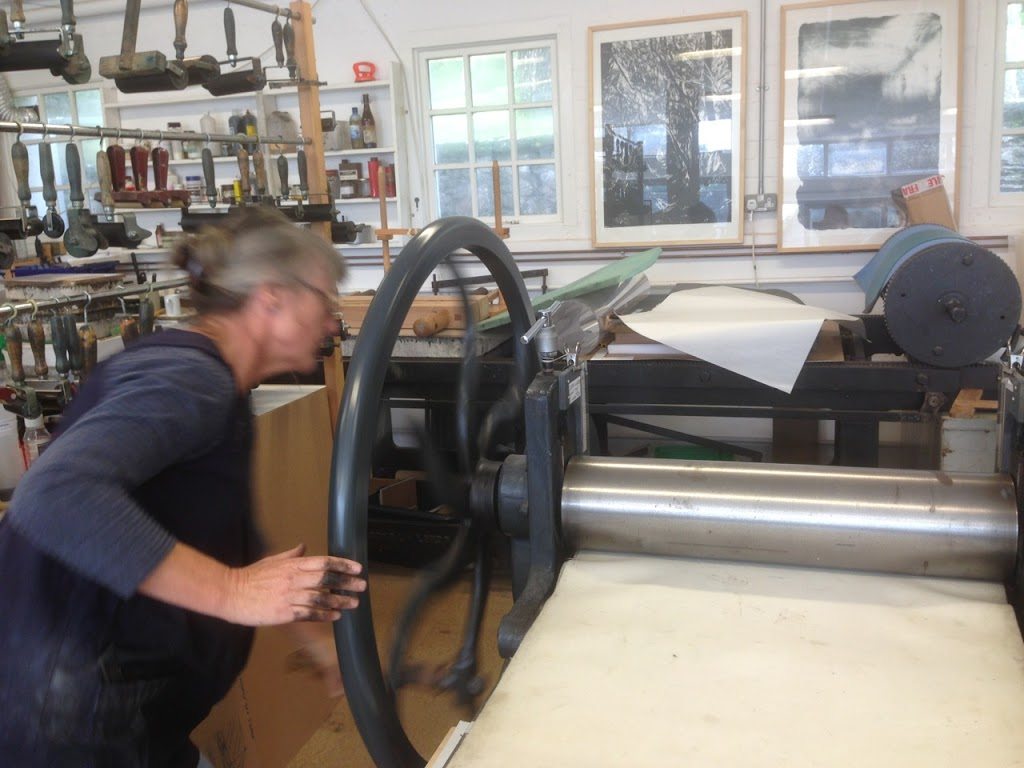
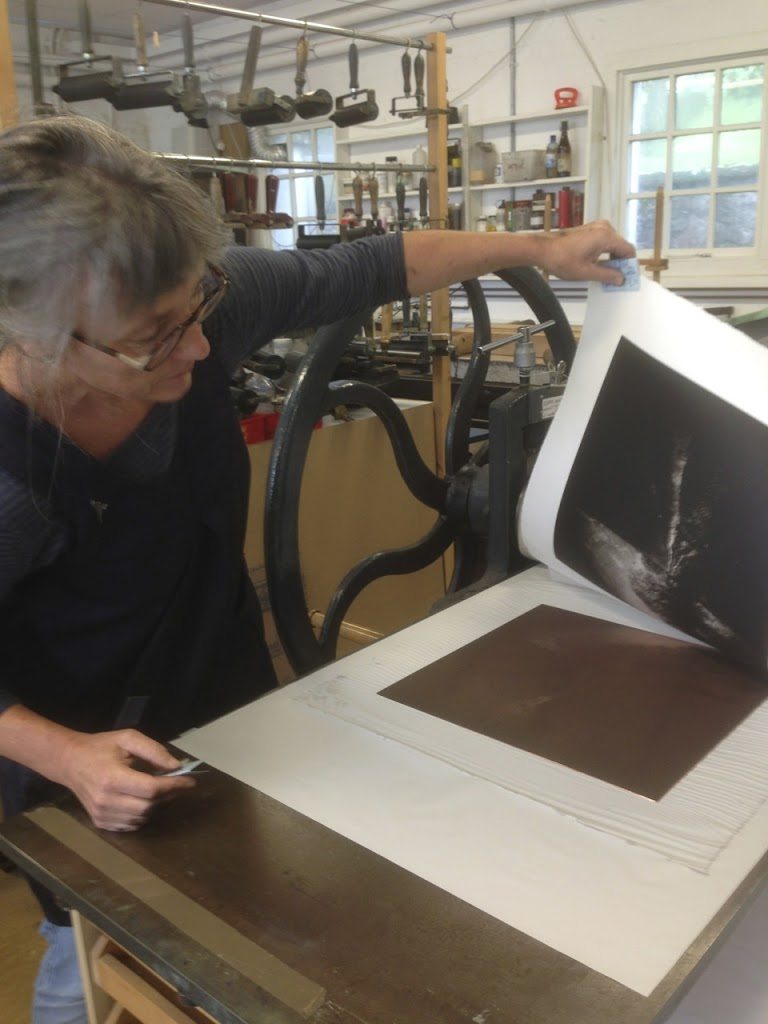
On to the press and ‘registered’ to ensure the image appears square on the paper.
Dampened paper, then tissue paper, then three wool blankets are laid over the plate.
The big wheel turns…
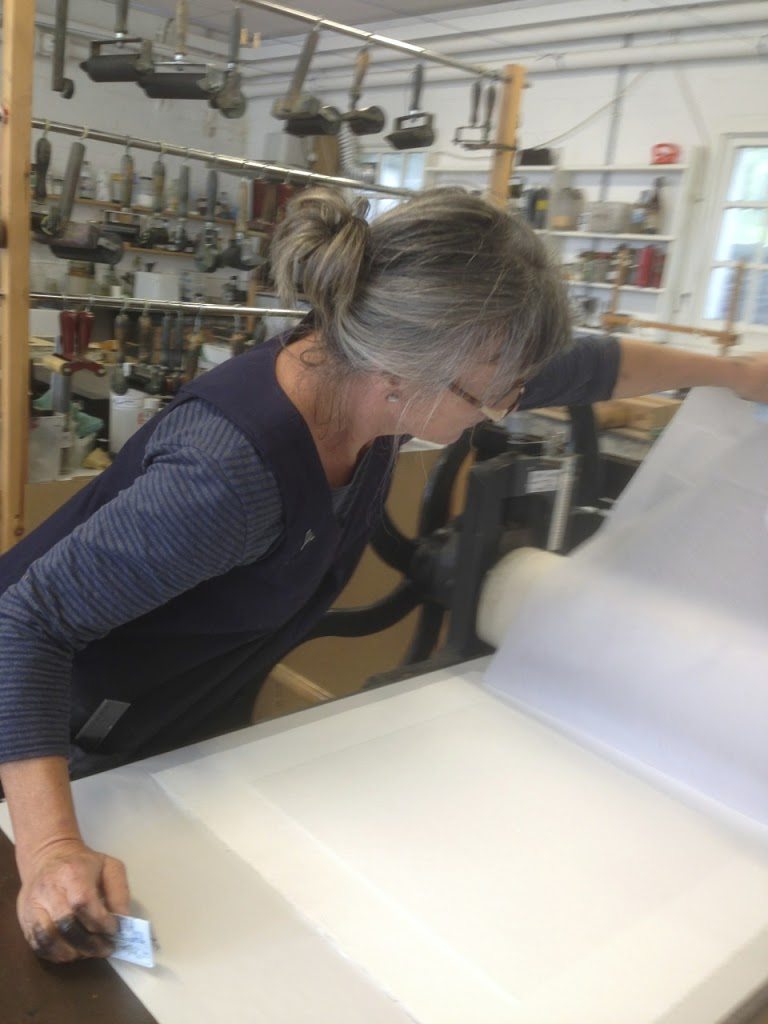
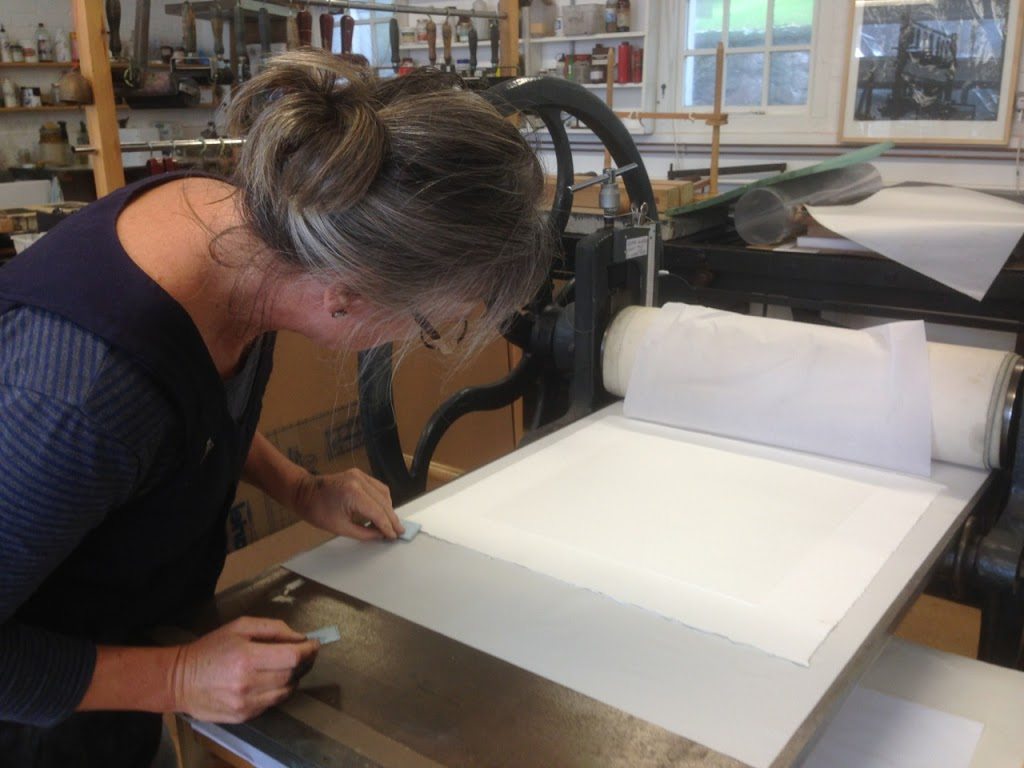
Out the other side – tissue and blanket are turned back.
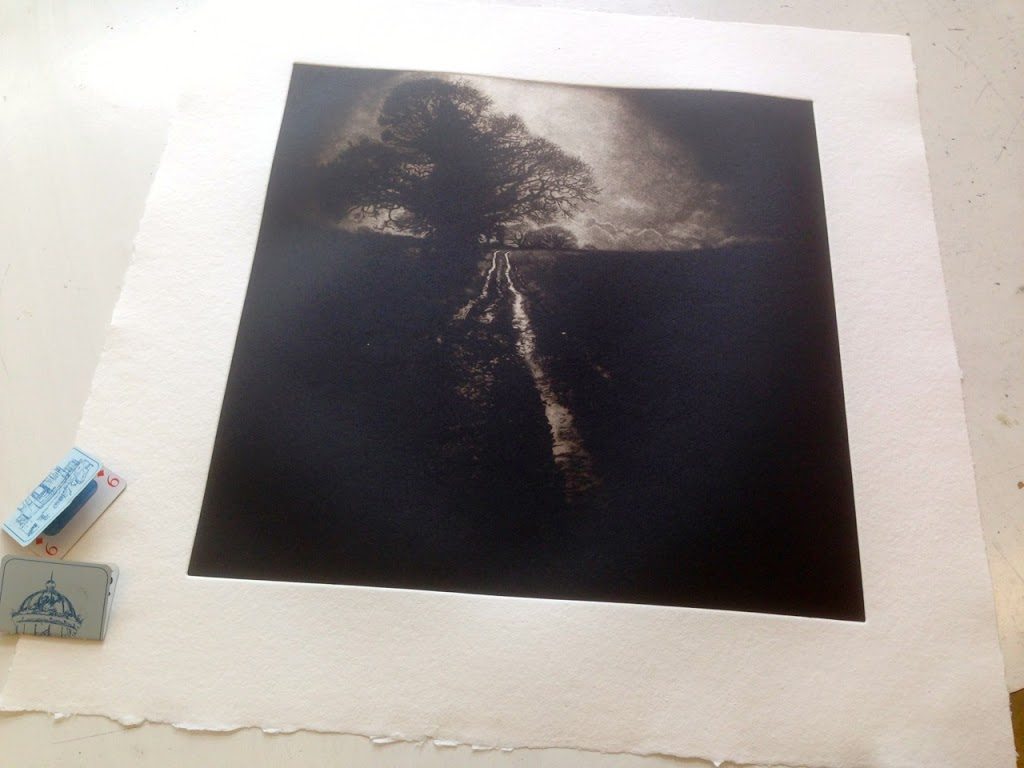
Finding the corner of the paper carefully using a folded playing-card as a ‘paper-grip’ to avoid getting ink from my hands onto the hand-made paper.
Moment of truth.
It’ll do.
Quick inspection and then the print is put to dry, sandwiched flat between more tissue, blotting paper and heavy boards.
Time for a cup of tea and then start all over again…
I printed eight today – two of which I discarded. About average for a large, complicated mezzotint.
Thanks to fellow print-makers Alice Leach and Fran Gynn for help with some of the photography.


