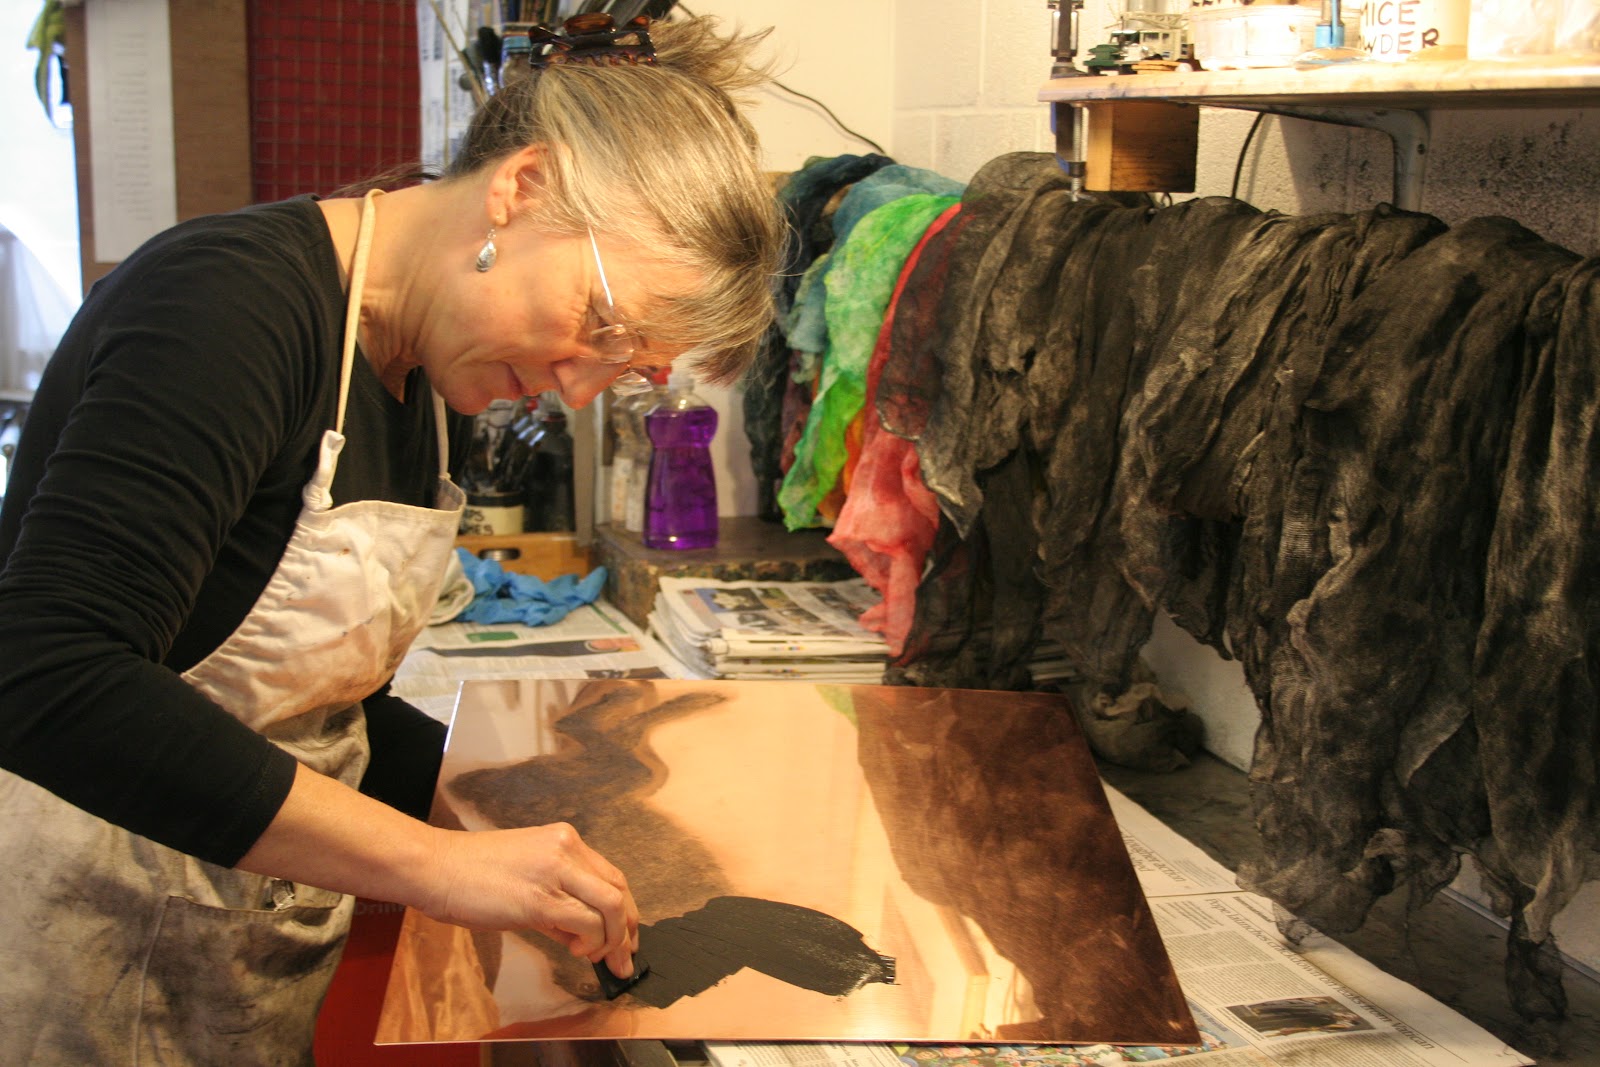
Once in John’s workshop ink is carefully applied to the plate with a small piece of rubber. I’m using a traditional oil-based intaglio printing ink.
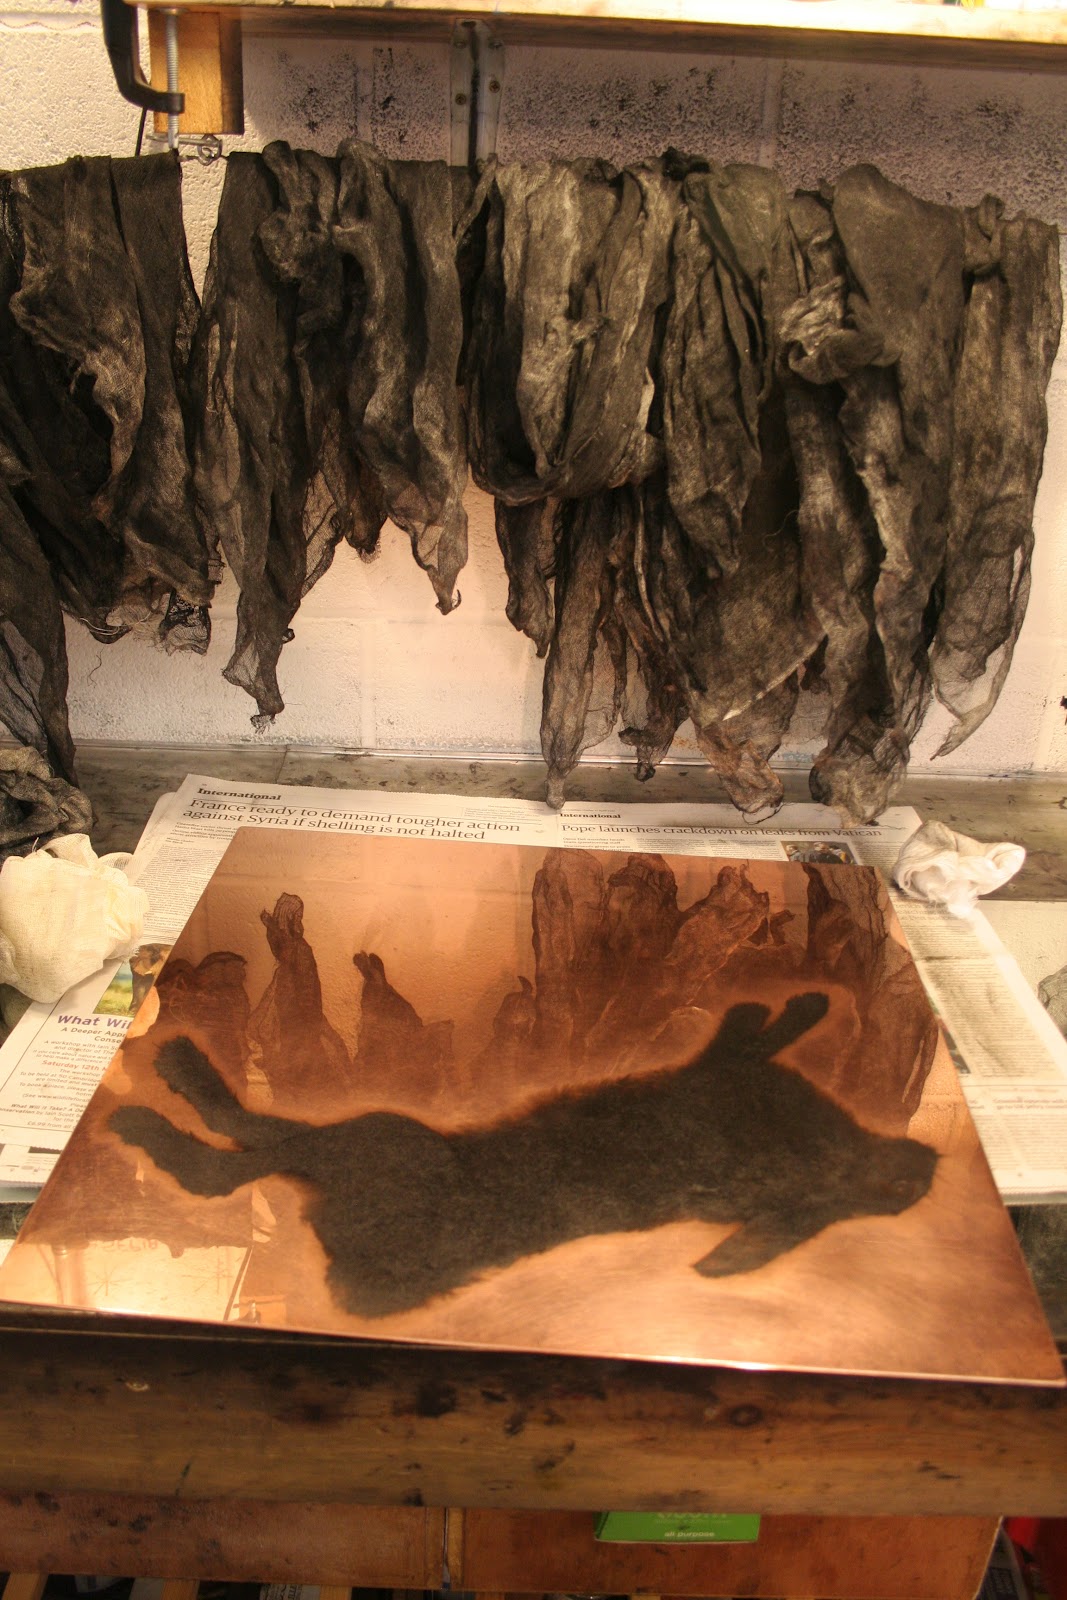
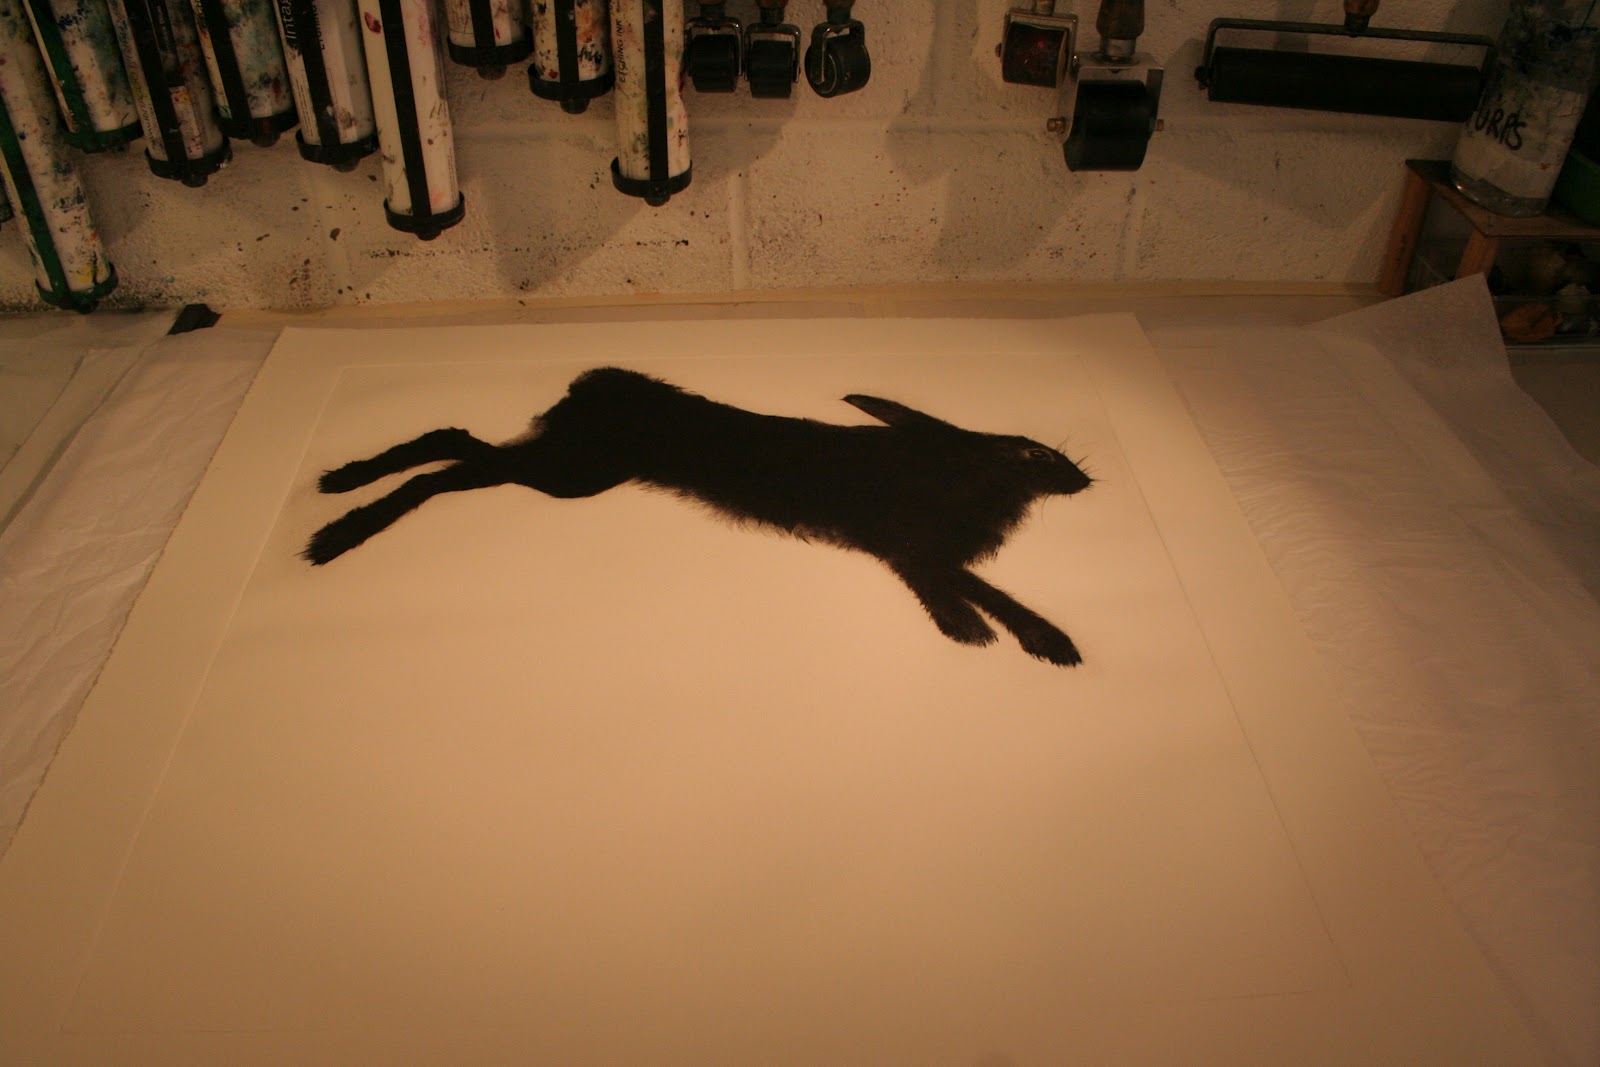
Then, using the various pieces of inky scrim you can see here the ink is carefully wiped from the surface of the plate. It’s probably taken me all of this year to really learn how to do this part, and in a year’s time I’ll look back and think I knew nothing at this point! The ink has to stay in both the grooves and the raised burr created by the drawn scratches, and wipe clean from the shiny untouched surface of the copper. This image of a hare had everything from areas of pure white, through delicate whispy lines around its underbelly and ears, to rich dense blacks in the body and eye. The challenge is all about pressure and direction – keeping the nuances, not wiping too much off nor leaving too much on.
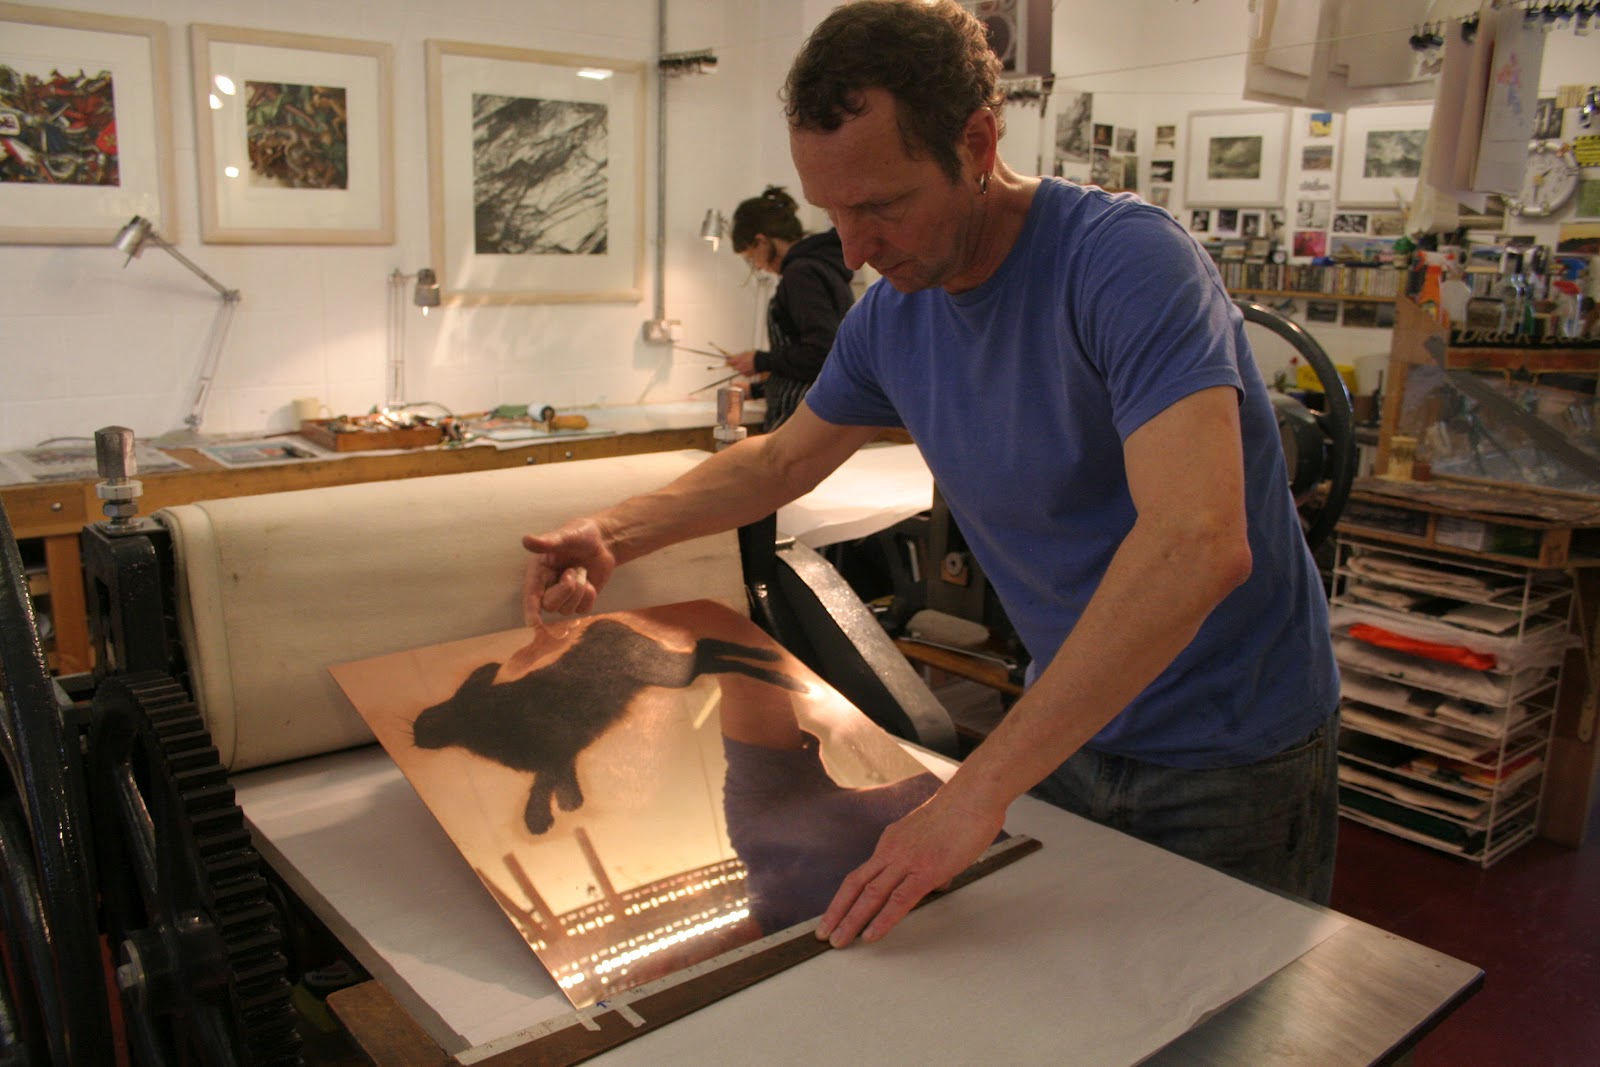
This week I had lots of help from John. This is the biggest plate I’ve done so far and four hands were definitely better than two. Here he carefully places the inked up plate on the press bed and registers it while I blot the soaked Arches paper. (That’s Nicola Bealing in the background quietly conjuring mono-print magic.)

The damp paper is placed over the plate, then tissue paper and blankets are pulled down over the paper and plate and the whole thing is wound through the heavy Littlejohn press.
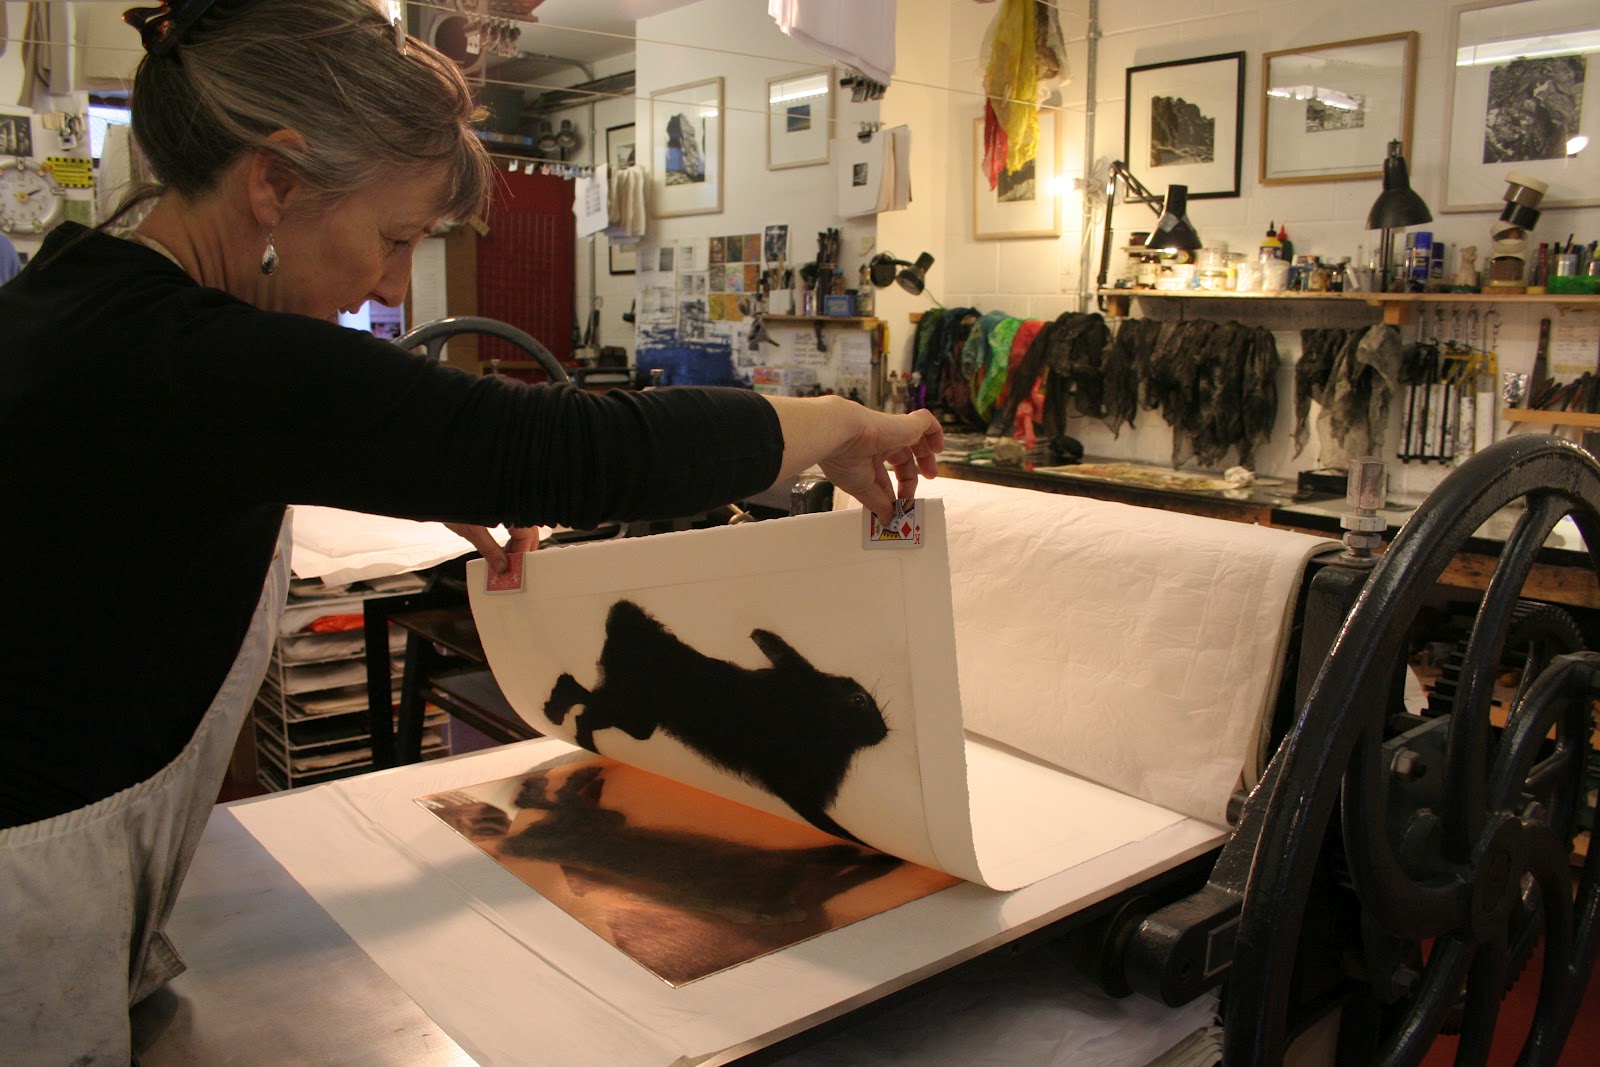
The blankets and tissue are turned back and the paper is carefully peeled from the plate. This is the moment of truth – magic or misery. This time it worked. I took eight impressions from the plate before tiredness set in. Drypoints are vulnerable as the fragile raised burr that gives them their unique softness wears down quickly with the wiping and the pressure of the press. I will probably only get another four or five prints before the plate loses it’s edge.
Working in John’s studio in Penryn is printmaking heaven. Housed in an iconic waterside eco-building, the workshop is incredibly well organised and meticulous. John Howard’s patience, experience and expertise seem to know no bounds. The studio has various rates depending on how much tuition or technical assistance you might need john@johnhowardprintstudios.com or 07870 679061 for more information availability etc.
Thanks to Naiomi Frears for taking these photos. You can click on anyone of them to enlarge for more detail.